Make.com (formerly Integromat) is one of the most powerful no-code automation platforms available. Unlike Zapier, Make lets you visually design complex, multi-step workflows with conditional logic, data transformations, and error handling — all without writing a single line of traditional code.
This guide walks you through building your very first production-ready Make.com scenario from scratch. By the end, you'll understand how modules work, how to map data between steps, and how to keep your automation running reliably 24/7.
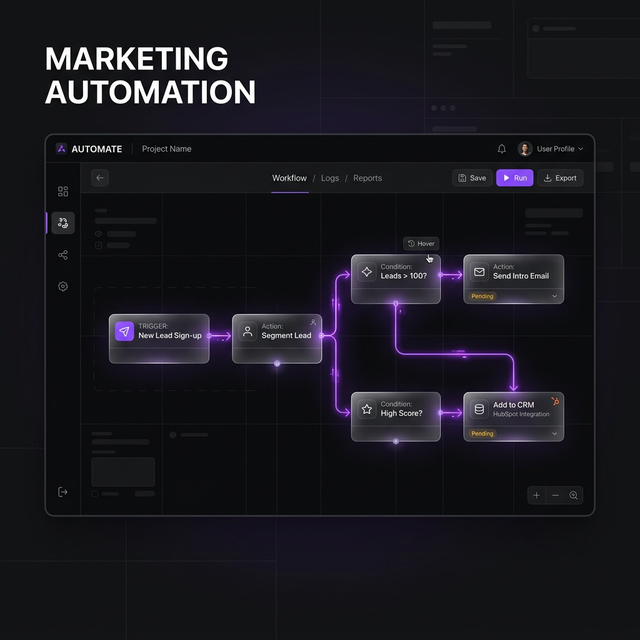
What You'll Build
We'll build a practical automation: when a new contact fills in a form on your website, their details are automatically added to a Google Sheet, tagged in your CRM, and you receive a Slack notification. This is the exact type of automation I build for clients every week.
Step 1: Create Your First Scenario
Log into Make.com and click "Create a new scenario". You'll land on the visual editor — a blank canvas where you add modules and connect them together.
- Click the large + button in the centre to add your first module.
- Search for your trigger app — in this case, Webhooks.
- Select "Custom webhook". Make will give you a unique URL that you paste into your website form's "submit" endpoint.
Step 2: Understand the Data Structure
Once you send one test submission, Make captures the exact JSON payload from your form. You'll see each
field appear in the module's output panel — things like name, email,
company. Make calls these "bundles."
"The secret to powerful Make automations is understanding that every module outputs a bundle of data that can be mapped into any subsequent module's input fields."
Step 3: Add Action Modules
Click the + button after your webhook trigger and add your first action:
- Google Sheets → Add a Row: Map the webhook fields (name, email, company) to the corresponding columns in your sheet.
- HubSpot → Create a Contact: Map the email field as the primary identifier and other fields to HubSpot properties.
- Slack → Send a Message: Build a message template like "New lead: {{name}} from {{company}} — {{email}}".
Step 4: Add Error Handling
This is what separates amateur automations from production-grade ones. Right-click any module and add an Error Handler. Common patterns:
- Ignore: Skip the error and continue (useful for non-critical steps).
- Rollback: Undo all changes in this run if one step fails.
- Break: Stop the scenario and send yourself an alert email.
Step 5: Test and Activate
Use Make's "Run once" button to test with real data. Inspect each module's output to confirm your data is flowing correctly. Fix any mapping issues before turning the scenario on permanently. Then hit Schedule — turn ON and your automation runs 24/7.
Key Tips for Reliable Automations
- Always use filters between modules to only process valid data (e.g., skip empty emails).
- Set up email alerts for incomplete executions in Make's settings.
- Name your scenarios clearly:
[Client] Action → Destination. - Keep each scenario focused on one workflow — don't cram 15 steps into one scenario.
Ready to Go Further?
This is just the foundation. Once you're comfortable with basic scenarios, you can layer in AI modules (OpenAI), data aggregators, iterators, and multi-route branching to build truly sophisticated business automation systems.
If you'd rather have this built for you properly the first time — with full error handling, monitoring, and documentation — reach out for a consultation.